

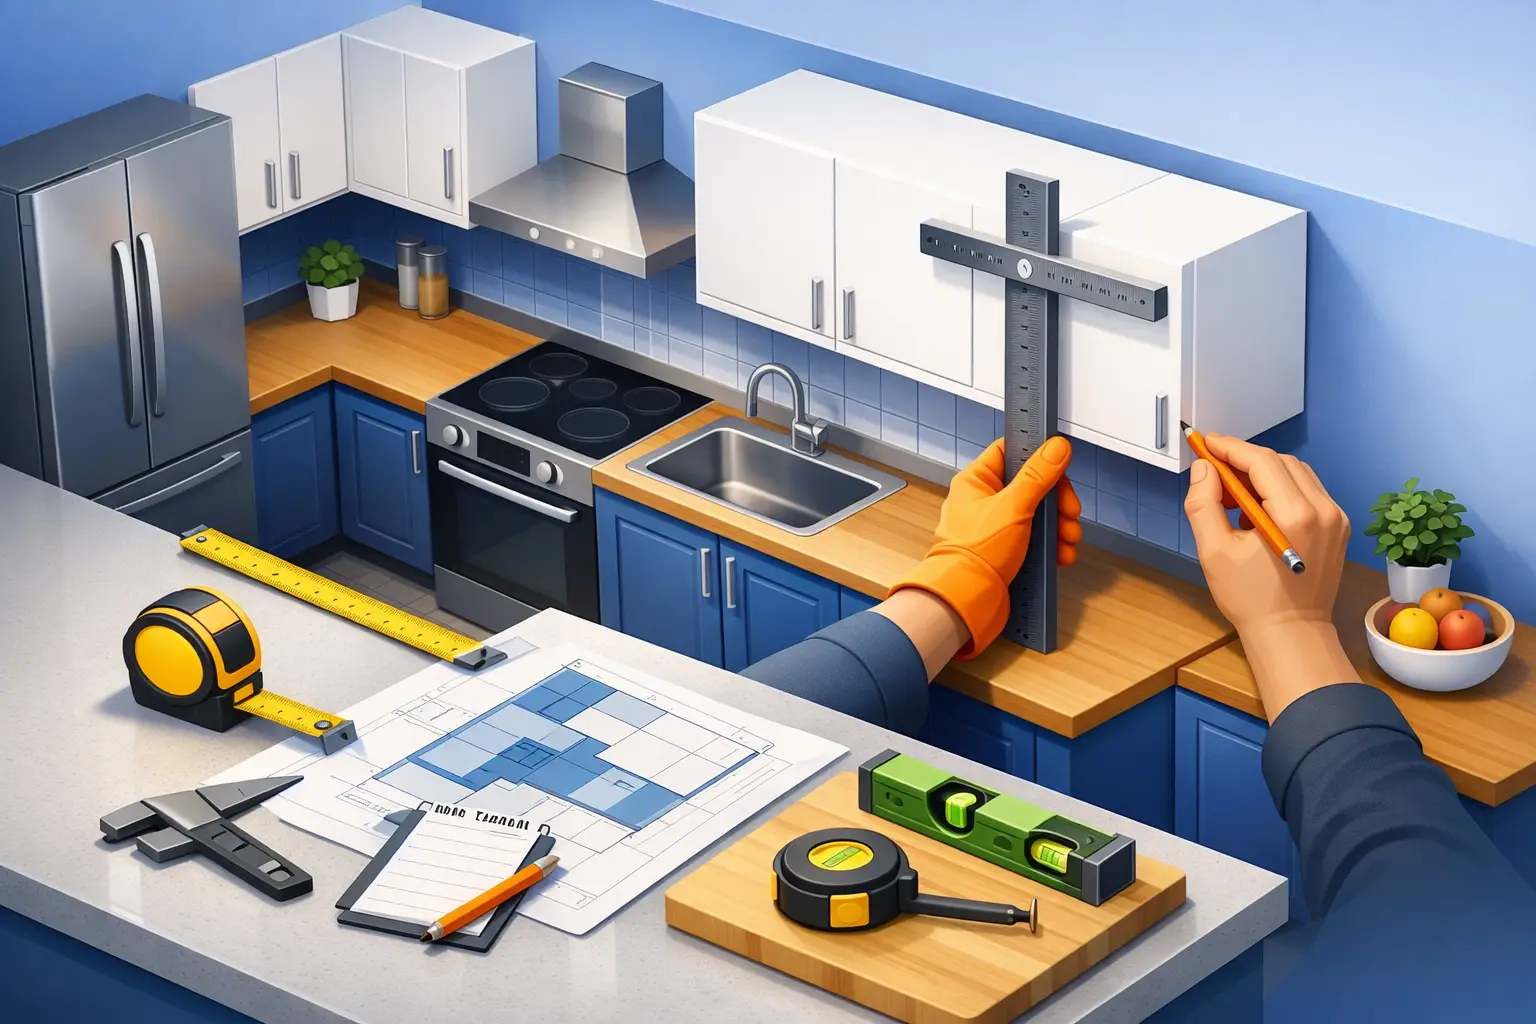

A cabinet order can look perfect on paper and still go wrong by an inch. That inch is what turns a smooth kitchen update into filler strips in the wrong place, appliances that do not fit, or installers solving problems you never planned for. If you are figuring out how to measure kitchen cabinets, the goal is not just getting numbers – it is getting the right numbers for the way your kitchen actually works.
For homeowners planning a remodel, accurate measurements help you compare options with confidence. They also make it easier to decide whether stock sizes will work, where adjustments are needed, and when a design should be refined before materials are ordered. In practical terms, measuring well protects your budget.
How to measure kitchen cabinets before you shop
Start with the room, not the cabinets themselves. Even if you are replacing existing cabinetry in roughly the same layout, walls are rarely perfectly square, floors can slope, and soffits, windows, plumbing, and electrical points all affect what will fit.
Use a steel tape measure, a notepad, painter’s tape, and a simple sketch of the room. Measure everything in inches. It helps to label each wall and write dimensions directly onto your drawing so you are not trying to match loose numbers later.
Measure the full length of each wall from corner to corner. Then measure the wall again at a second height, especially if the room is older. In many kitchens, the dimension at floor level is not exactly the same as the dimension at countertop or upper-cabinet height. That difference matters when you are planning a tight run of frameless cabinets, where clean alignment is part of the finished look.
Next, mark the location of doors, windows, outlets, switches, plumbing lines, gas lines, vents, and fixed architectural elements. Record both the size of each feature and its position from the nearest corner. For example, do not just note that there is a window on the sink wall. Measure how wide the window is, how high the sill sits from the floor, and how far the window starts from the corner.
The core cabinet measurements that matter
When people ask how to measure kitchen cabinets, they are usually thinking about width. Width is critical, but it is only one part of the picture.
Measure width carefully
For base and wall cabinets, width is measured left to right across the front. If you are replacing one cabinet, measure the existing cabinet box, not just the door front. If you are planning a full run, measure the available wall space and then account for fillers, clearances, and appliance openings.
Do not assume every section should be packed tightly with cabinets. You may need space for crown adjustments, a filler near a wall so doors and drawers can open properly, or room to accommodate an out-of-plumb corner. On paper, a wall might read 120 inches. In practice, your cabinet run might need to be 117 or 118 inches to install cleanly.
Measure height from the finished floor
Base cabinet height is typically standardized, but your room conditions are not. Measure from the finished floor to the bottom of windows, to outlets that may sit above the backsplash line, and to any soffits or ceiling transitions.
For upper cabinets, know the intended mounting height before you measure final placement. An 18-inch space between countertop and upper cabinets is common, but taller backsplashes, under-cabinet lighting, or design preferences can shift that spacing. If your kitchen has low ceilings or a soffit, upper cabinet height becomes even more important because a cabinet that looks fine in a brochure may not fit your wall the way you expect.
Measure depth with obstacles in mind
Base cabinets are usually deeper than wall cabinets, but surrounding conditions still matter. Check whether window trim, pipes, appliance handles, or nearby walkways affect how deep cabinets can be without creating a cramped layout.
This is especially relevant in smaller kitchens where every inch matters. A deeper cabinet can improve storage, but if it tightens a walkway too much or crowds an island, the trade-off may not be worth it.
Do not measure around old mistakes
Many older kitchens have layout decisions that were simply carried forward over time. A lazy corner cabinet that wastes space, a narrow drawer stack beside the range, or an upper cabinet that blocks sightlines may have been accepted because that was the original setup.
When you measure, separate what exists from what makes sense. Keep track of current dimensions, but also ask whether the layout should change. If your refrigerator door barely clears a wall now, measuring the same tight opening for the replacement plan only repeats the problem.
This is where professional design guidance can make a real difference. A homeowner may measure accurately and still choose a layout that is technically possible but not ideal. Good cabinet planning is part measurement, part function.
Appliance openings need exact numbers
Cabinet measurements and appliance measurements have to work together. This is one of the most common trouble spots in a kitchen remodel.
Measure your refrigerator, range, dishwasher, microwave, hood, and any built-in units based on the actual product specifications if you have selected them. Do not rely on rough estimates or assume the new appliance will match the old one. Refrigerators, in particular, vary more than many homeowners expect, especially when you include door swing clearance, handle projection, and ventilation space.
Dishwashers usually fit within a standard opening, but finished floor height can affect installation. Ranges and cooktops may require spacing rules for surrounding cabinetry. Wall ovens and microwave combinations require precise cabinet compatibility. If you are measuring before choosing appliances, leave yourself enough flexibility so the cabinet plan does not limit your options too early.
Corners, fillers, and trim change the plan
A straight wall is simple. Corners are where measurements become less forgiving.
Inside corners need enough room for doors, drawers, and hardware to function without hitting adjacent cabinets or walls. Outside corners affect how decorative panels, trim, and end finishes are handled. Fillers are often necessary, not because something was measured wrong, but because cabinets need operating clearance.
Frameless cabinets are popular for their clean, modern lines and efficient interior storage, but that streamlined look depends on careful planning. If a drawer front rubs a wall or a door cannot open fully because there is no filler allowance, the final result will feel less polished no matter how nice the cabinet construction is.
Trim also changes measurements. Crown molding, light rail, toe kick details, and finished end panels all take space. These are not afterthoughts. They should be considered during measurement, especially when ceilings are uneven or the cabinet run ends against a visible wall.
A simple measuring process that avoids costly misses
If you want a practical way to approach the job, measure in this order: the full room, then openings and obstacles, then appliances, then existing cabinets if they are relevant to your plan. After that, review every wall for clearance issues like corners, trim, and door swing.
Take each measurement twice. If a wall gives you different numbers, use the smaller one until a professional verifies conditions. It is better to plan conservatively than to order cabinetry that only fits in a perfectly square room you do not actually have.
Photos help more than most people realize. Stand back and photograph each wall, then take close shots of plumbing, outlets, windows, and any irregular areas. When you revisit your notes later, those photos often explain numbers that seemed obvious in the moment.
When a DIY measurement is enough and when it is not
If you are in the early planning stage, doing your own measurements is useful. It helps you understand what may fit, what style of cabinetry makes sense, and whether your kitchen can stay close to the current footprint or needs a more substantial redesign.
But preliminary measurements are not the same as final order measurements. If the project includes new cabinetry, installation, countertop replacement, or layout changes, professional field verification is the safer move. This is especially true when walls are uneven, the design includes tall pantry cabinets, or multiple trades are involved.
For homeowners comparing value, this is worth keeping in mind: quality cabinets are only part of the investment. Accurate planning and installation support protect that investment. Well-built cabinet boxes, soft-close hardware, and solid drawer construction matter, but they perform best when the kitchen has been measured and planned correctly from the start.
In South Florida homes, where remodels often involve a mix of older construction and updated finishes, small dimensional surprises are common. That is one reason many homeowners prefer a company that can handle both cabinet selection and the installation side of the project, rather than leaving measurements, ordering, and fit issues to chance.
If you are measuring now, be thorough, be skeptical of assumptions, and give every wall a second look. A good kitchen does not start with cabinet doors or colors. It starts with dimensions you can trust.
